www.BadgerTrek.comAbout/ContactWeb LogOur Camper Van
Resources:Hobbies:MotorcyclesAmy's CakesOutboard Hydroplane RacingRadio Controlled Toys |
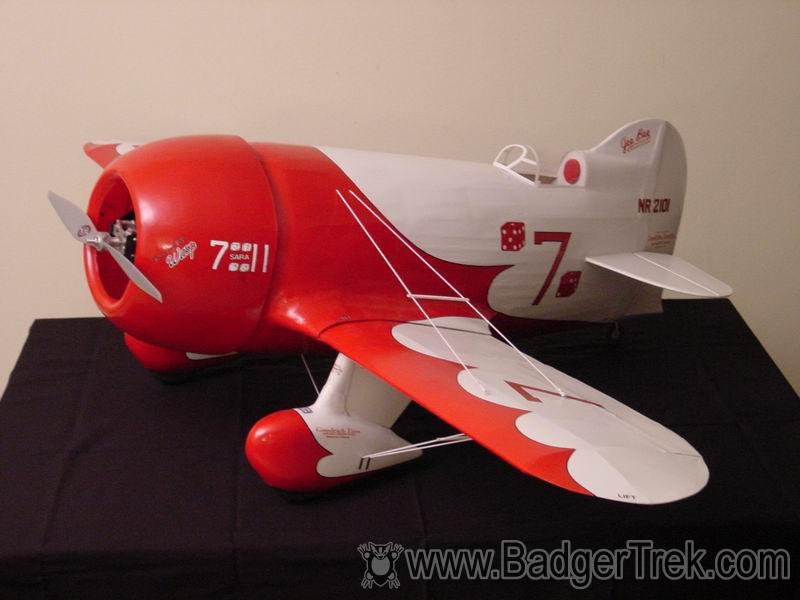
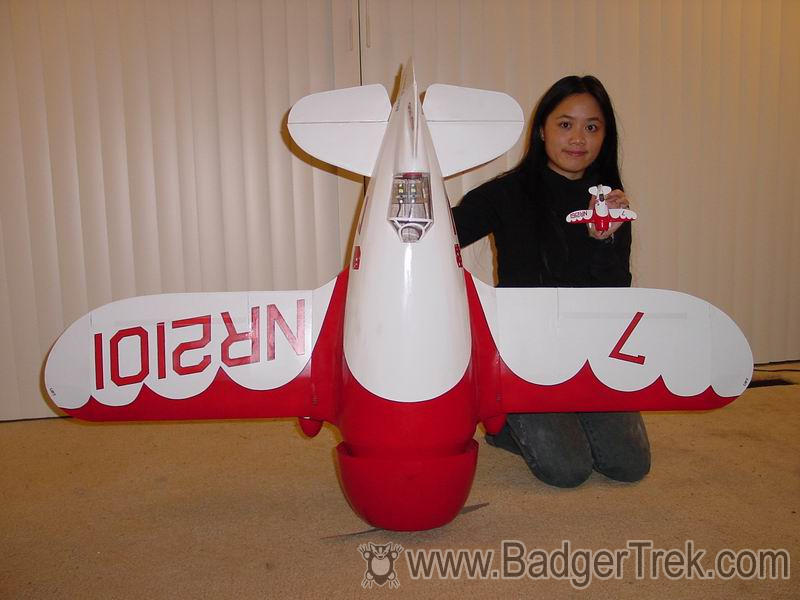
GeeBee R2
The Build:
I, with much help from my wife, Amy, have spent over a year getting this model to flight. Viewing it more as a learning experience than a toy to get into the air quickly, we have tried to determine the best way to do each bit, and then learn the techniques necessary. Since many of the parts are the result of our first time trying something out, it isn't the prettiest thing out there, but we are still quite happy with it. Our main goal was to build an RC airplane as much from scratch as possible.
-Transfering plan lines to balsa using freezer paper , cheap, no mess, no marks on the balsa, and best of all: really easy
-Wing spar sizing calculations and building techniques (courtesy of Dr. Mark Drela and the information he has put online regarding his Alegro Light and other sailplanes).
-Cheap clear canopies made by heating up IBICO report covers and pulling it quickly over a plug. We first made them by shrinking a clear cola bottle over the plug, also a technique found here.
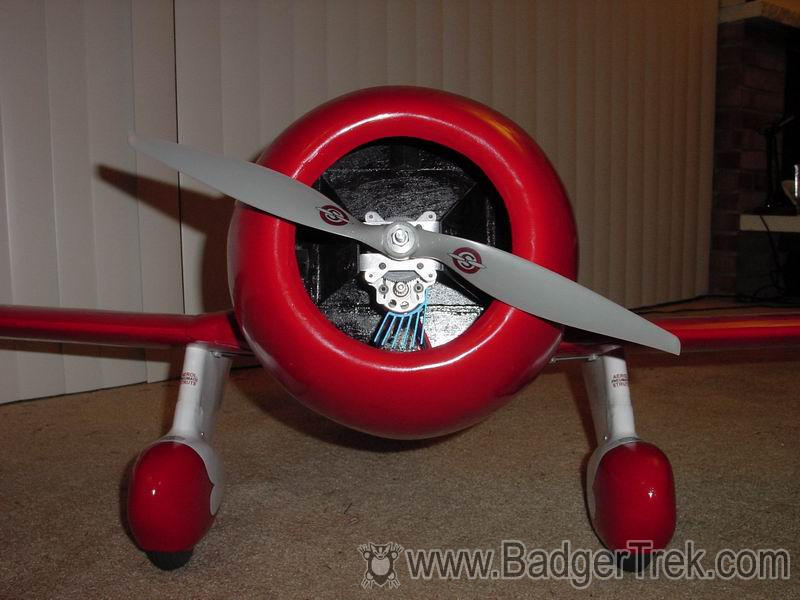
-Custom fiberglass part forming, from making the plug, making the molds, to making the parts and joining them as necessary. Some of this information I gathered here, some from the egroups mold-making forum, and a lot from the how-tos at CST Sales (who also provided many of the composit materials we used). We used these techniques to make the engine cowling and the wheel-pants.
-Which ink-jet self-adhesive clear decals actually stick and conform to slight compound curves, and how to keep them from running when getting damp (Avery full-page clear address labels, fixed with clear gloss enamel from the hardware store)
-We learned some basics on using a lathe and mill to build the gearbox & engine/gearbox mount. We could have bought one, but we needed an excuse to use the things (since they pretty-much fill an entire bedroom in our house)
-Somewhere in the ezone sailplane forum I found refrence to the RDS (rotary-drive-system) for containing aileron linkages inside of the wing, so that no push-rods or horns need be external, but with less flexing than torque tubes can allow. We followed this up and used such a technique.
-The motor system is a Kyosho Endoplasma powered by a Great Planes 50 Amp speed control w BEC and 10 CP2400 cells. This brought to my attention by the many postings of Gary Wright. I tried it out first, with much success, in an electric Bird-of-Time, and so decided to spec the GeeBee's basic dimentions around this power-plant.
-And finaly, much thanks to Mr. Adrian Page , whose construction article in RCM over a year ago inspired us, and whose plans provided the basic outlines and construction techniques we used in many places.
Statistics:
- Wing Span 60"
- Chord 10"
- Fuselage max diameter ~11.5"
- 10 CP2400 Cells per pack
- 1 Endoplasm at ~6:1 gearing (custom gearbox allows 9.6:1 and down)
- 16x10 APC prop (may increase diameter, pending first flights) (Now using a MAS folding 15x14 prop as this worked better)
- 4 Hitec HS 85 servos (AARE)
- Great Planes C-50 ESC with BEC
- Hitec 555 rx
- All Up Weight 85.6oz (I was estimating 88 when we started building, so I'm happy )
- Wing area is ~600in^2, so a wing loading of about 85oz/600in^2 = 20oz/ft^2.

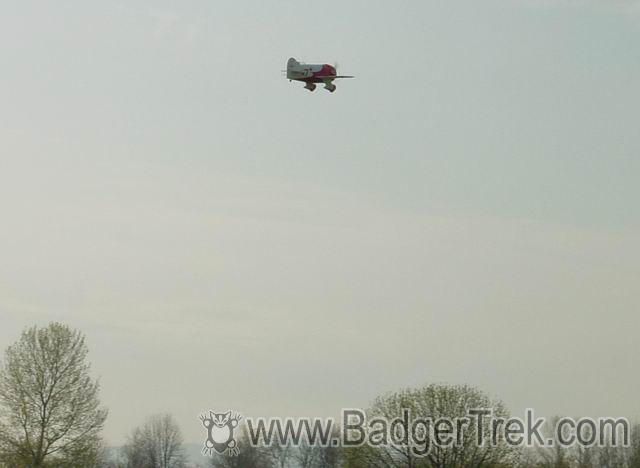
First Fight:

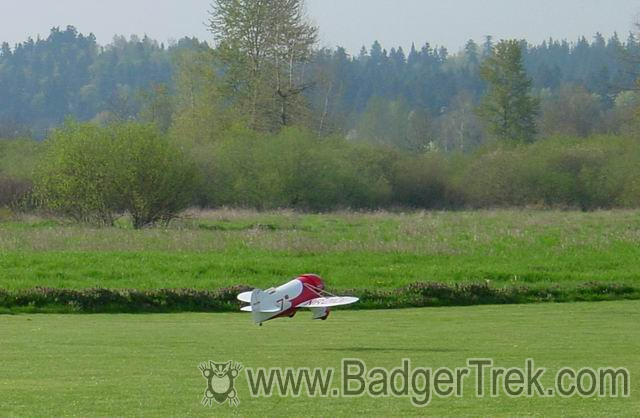
The landing was a bit unhappy, with the plane nosing over after touchdown due to a bump in the field and the high CG it carries. I have practiced the landing technique a lot in a simulator and with Amy's mini foam GeeBee and hope for better next time. No real damage was done other than the wheel-pants being knocked loose. 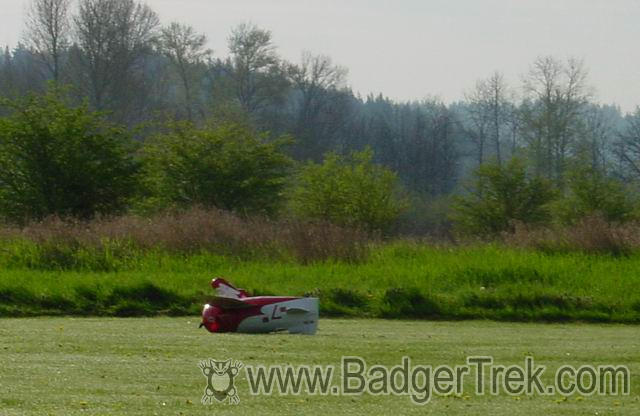
After the flight (2 min, which felt like 20) the battery took 500mah of charge, so for this flight the average current was somewhere around 30 amps. It will probably be less once I have it trimmed out a bit better. Elevator control was quite touchy and required quite a bit of down trim.