www.BadgerTrek.comAbout/ContactWeb LogOur Camper Van
Resources:Hobbies:MotorcyclesAmy's CakesOutboard Hydroplane RacingRadio Controlled Toys |
Molding Custom Carbon Fiber Airtubes
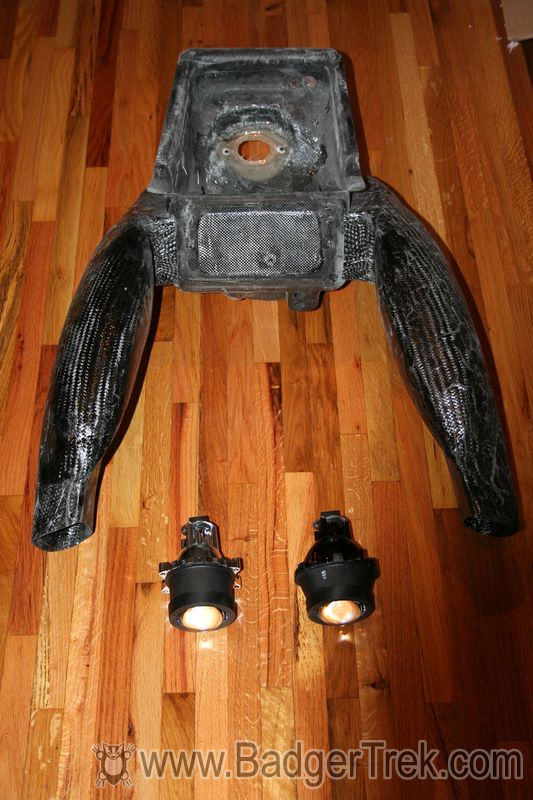
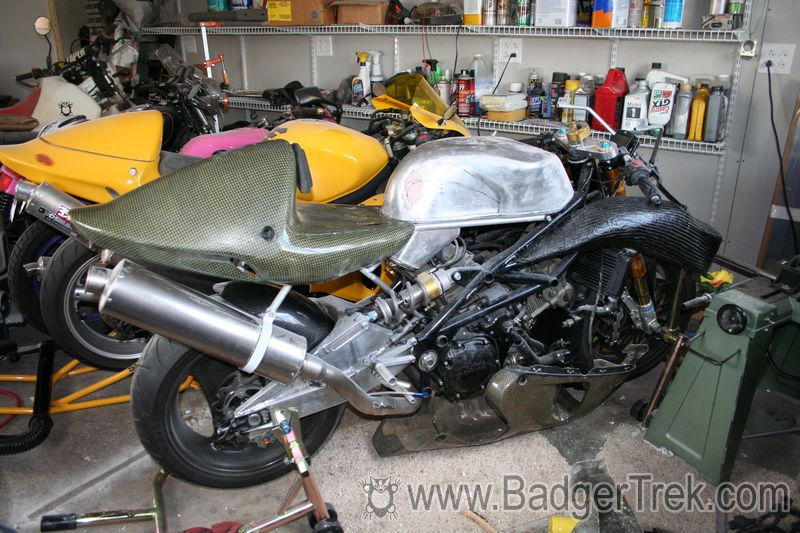
Building the bike required creation of a number of custom composite parts such as airtubes, a replacement airbox (the one I received from Art was in poor shape, somewhat repaired as seen above), etc.
Airtubes:
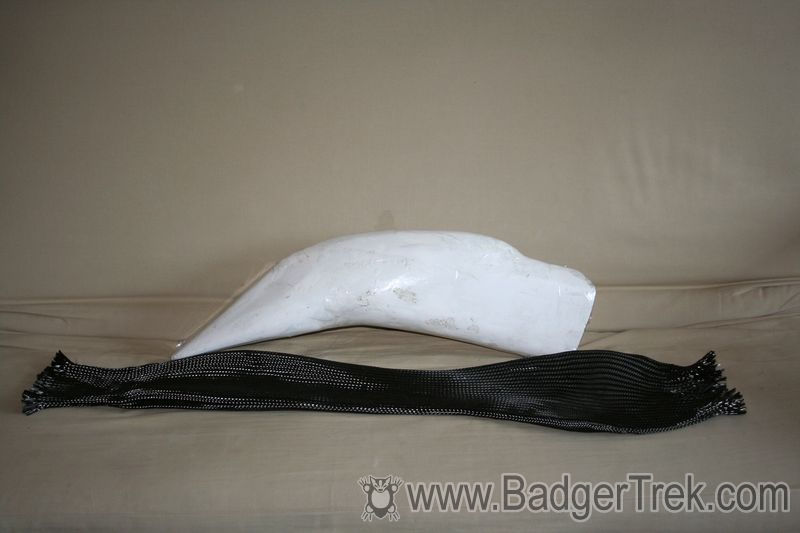
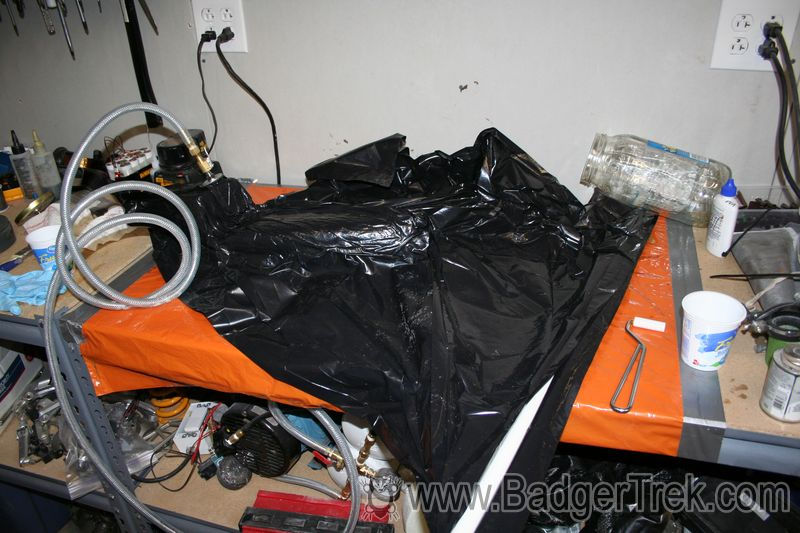
The first step was to get a casting of the route the tubes would need to follow from the air-intake to the airbox, along the inside of the fairing. I did this by installing the fairing, taping trash bags to the airbox where I wanted them to join, with the open end routed out through the air-intakes and inserting some housing foam triangles into the frame holes to serve as the airbox interface. I then filled the bags with expanding poly-urethane foam (Great-Stuff) and spraying water mist in periodically (the foam requires H2O to cure).
After a few days the foam was still not curing very well so I perforated the bags where accessible with a pin and misted water all over, repeating at soft spots every day or so.
A week later they seemed firm enough to remove. I pulled off the trash-bags, and cut the unnecessary bulges off the foam plugs, roughing in the shape I wanted.
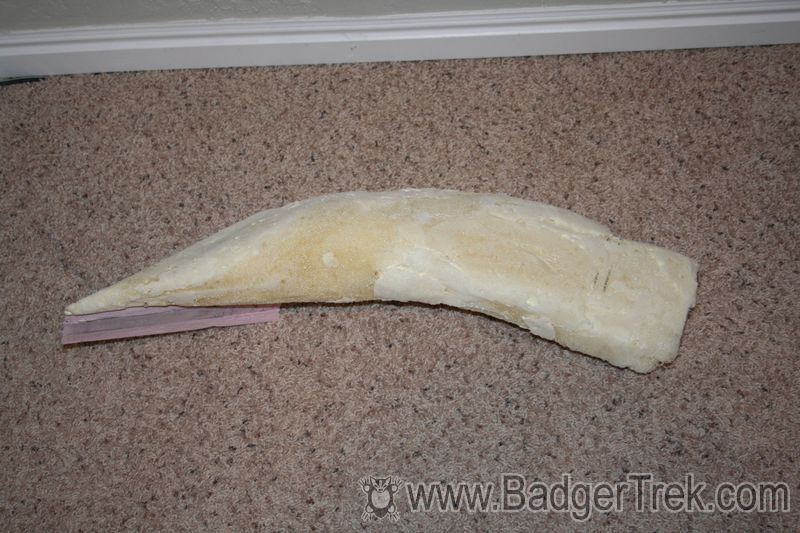
Then followed a week of sanding, cutting, test-fitting, and repeating. Whenever I found I needed to build-up an area I used wall-board joint compound to fill in and seal the surface of the foam. Each re-coat of joint compound required a day to dry so it would sand smoothly.
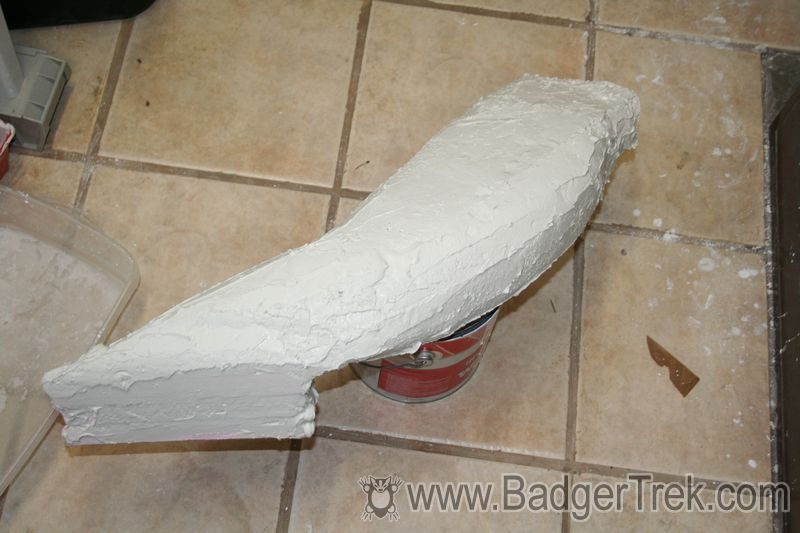
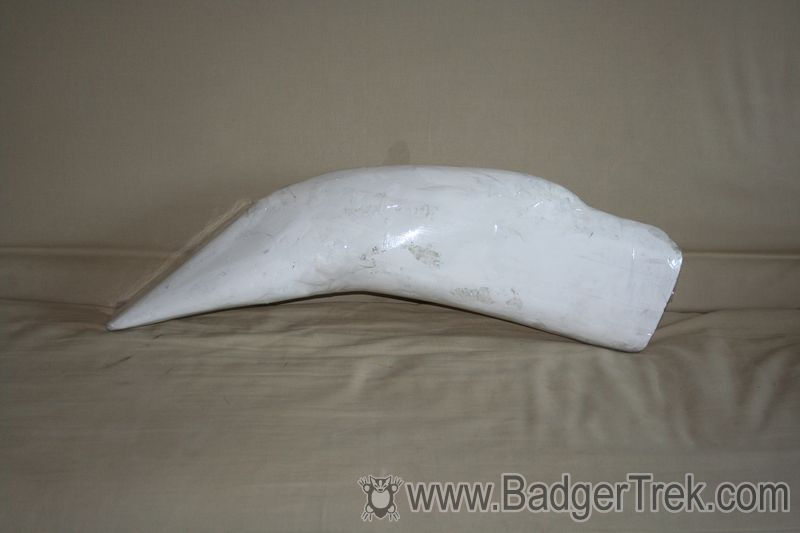
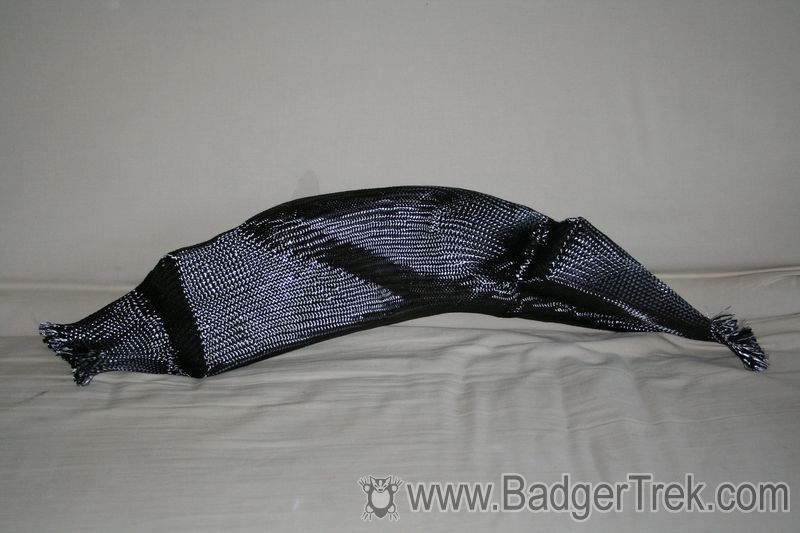
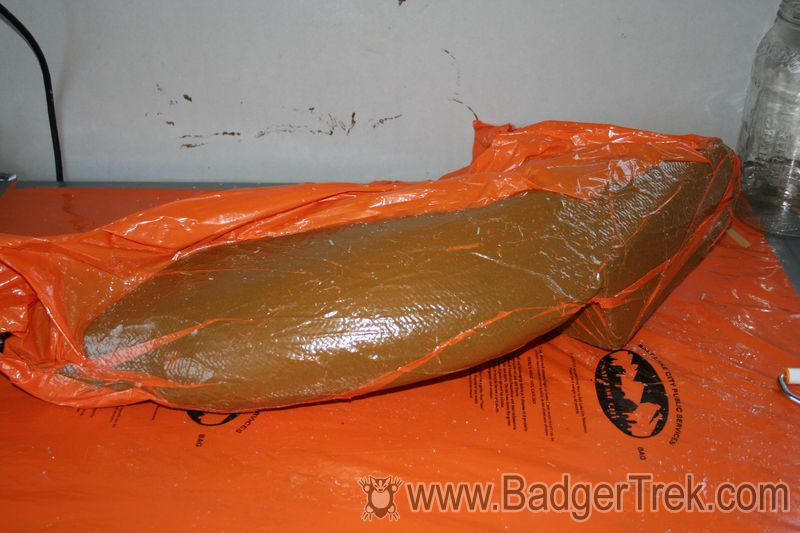
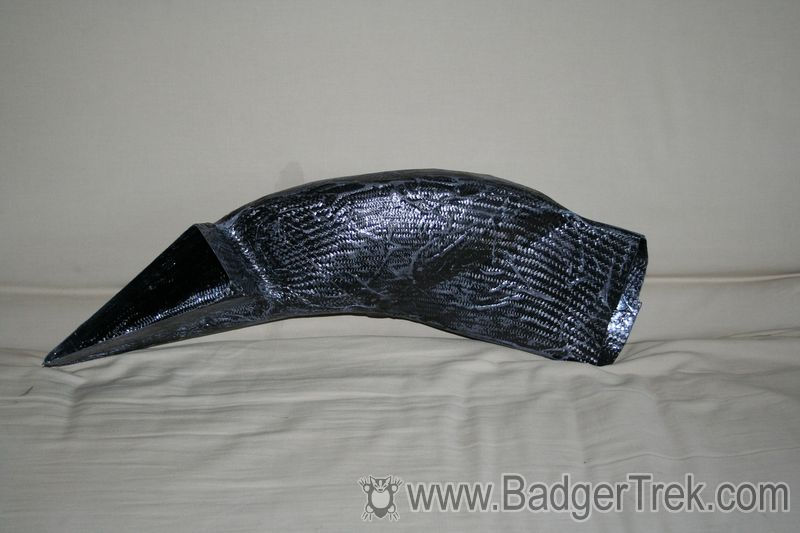
Finally the tube plugs were at the desired shape (a few mm smaller than the end-product all around). I then wrapped them in packing tape to work as a mold-release. Then I was ready to cover them in braided carbon-fiber sleeve and resin for vacuum bagging.
Now for the vacuum bagging:
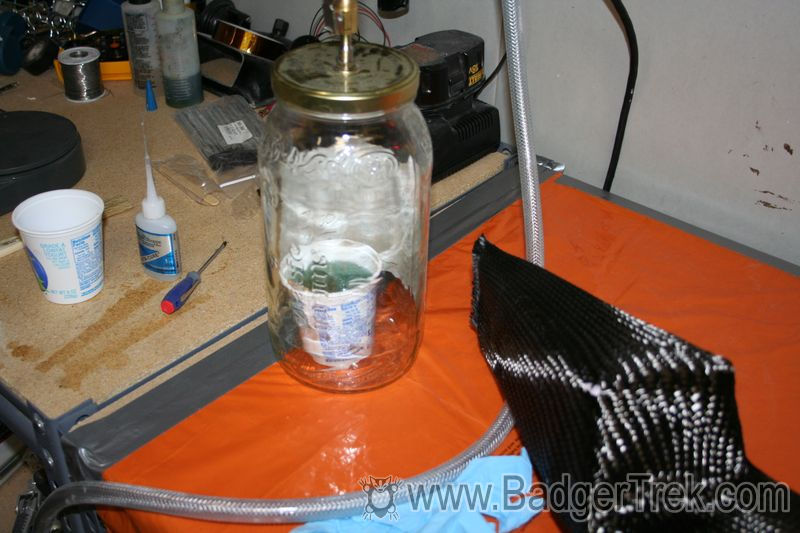
- Mix resin
- Vacuum resin for a few minutes to remove air-bubbles (they contribute to pin-holes at weave intersections)
- Coat carbon-sleeve wrapped plug in resin (I pour it on and use a small paint roller with no-foam to squish the resin into the cloth.
- Wrap the whole thing in a perforated release film (I use a trash bag with a bunch of holes I punched with a thumb-tack)
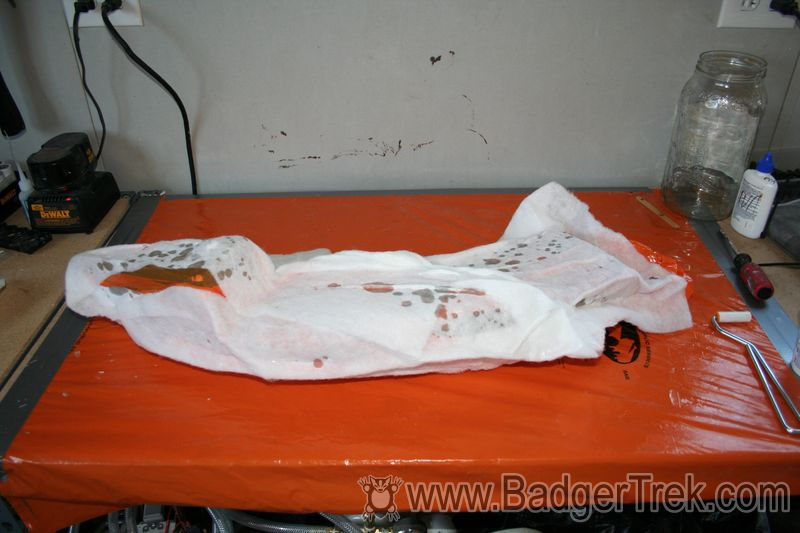
- Wrap all this in a layer of polyester fiber-fill to allow air to flow to the vacuum nipple, and to soak up excess resin
- Stick it all into the vacuum bag and seal it.
- Pull vacuum for a day (I only pulled about 4psi on these parts so as not to crush the foam plug)
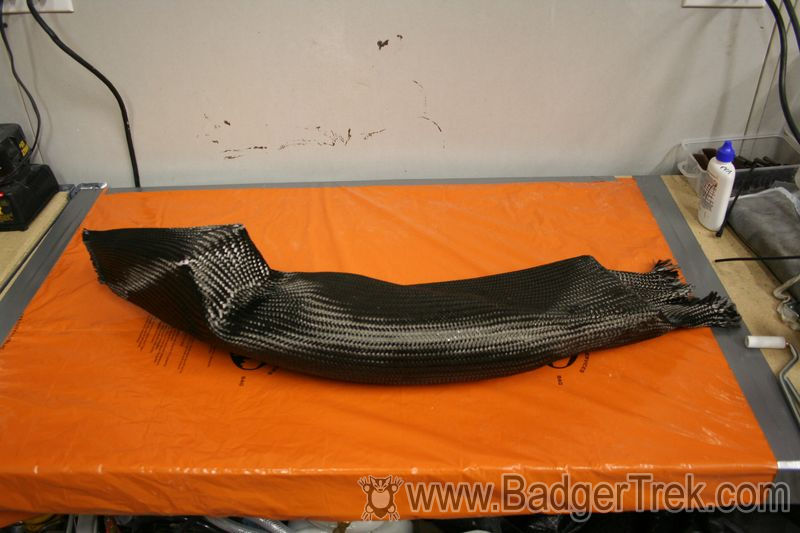
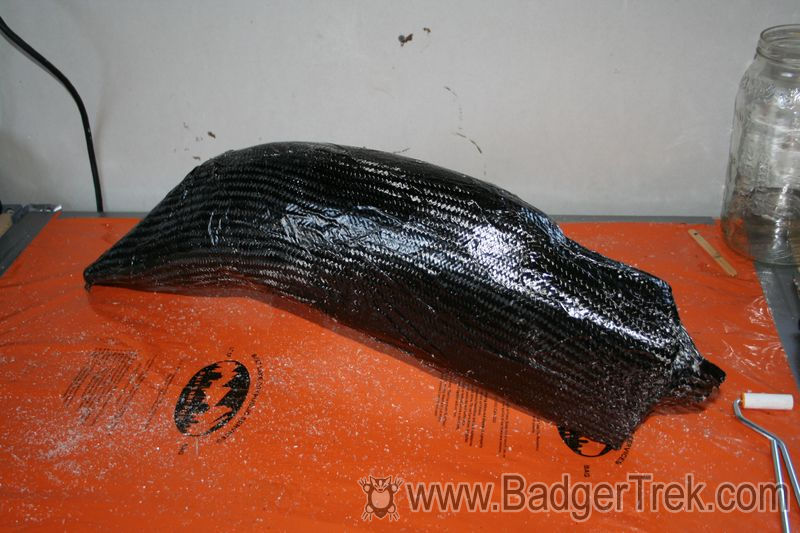
- Remove everything from the bag, unwrap the epoxy laden fiber-fill, remove the release film
- Now the part is visible, and ready to have the ends cut open and the foam scooped out, and peel out the tape
Airbox
For the airbox I had a starting point. The airbox I received from Art was a nicely made carbon fiber unit, however it had a number of cracks, did not fit the tank well, had the air intake at the front rather than the sides, and did not seal around the intake ports very well.
To create a new airbox I repaired the flaws to the original with fiberglass and body-filler as I was mainly interested in making a smooth outer surface, and did not care about weight or appearance. The repaired box served as a "plug" for the creation of a mold from which I can create any number of airboxes later on.
After fixing up the orignal airbox I waxed it a number of times with mold-release wax, and then sprayed it with PVA mold release. As the box was a rather complicated shape, I made a parting board out of stiff cardstock, and attached it to the airbox with modeling clay. The parting board was also sprayed with PVA to allow it to seperate from the mold.
I made the mold itself out of heavy fiberglass and polyester resin (cheap) with a touch of red dye to help see where the resin had been placed. With the speed of the polyester resin cure, I didn't even have time to vacuum bag the assembly before it was solid.
After both halves of the mold were completed, I pulled them off of the old airbox and tossed it. The molds came out quite nicely, and I waxed them after letting it sit a few days to completely cure.
Back up to the bike build page...